Showing posts with label nails. Show all posts

Wednesday, March 2, 2011

Tutorial: Pink and Black Gothic/Lolita Nails

EDIT: I am no longer making posts in this domain. Please follow me over to www.walkinmyeyeshadow.com to keep following my makeup journey 

Hey guys,

This is atutorial that I filmed early last year that I never got around to filming. I created this tutorial when I still had my gel nails, which I removed in June so that kinda gives you an idea of how old this tutorial is lol.

This is a really pretty nail design using pink, black and silver to create a contrasting and girly nail design that will get you a lot of compliments from your friends. Sorry the photos in this are so blurry but they were taken with my old camera, they still allow you to get the basic idea of the design


Monday, December 6, 2010

Giveaway: Born Pretty with Konad-licious

 EDIT: I am no longer making posts in this domain. Please follow me over to www.walkinmyeyeshadow.com to keep following my makeup journey

Born Pretty is sponsoring a fantastic giveaway that Konad-licious is promoting on her blog.

The prize for this giveaway is as follows:
- 12 stamping plates with a stamper and metal scraper
- Disc of 1,800 assorted colored rhinestones
- Huge sheet of nail art decals and
- A bottle of Red Crackle Polish


To enter you need to:

Be a PUBLIC follower and leave a comment with your following name and email address ( 1 entry)
Blog about this giveaway, either in a post or in your sidebar, and leave the link in your comment (3 entries)

To see the original posting, please click here


Good Luck!

Thursday, December 2, 2010

Giveaway: FORA Nails

 EDIT: I am no longer making posts in this domain. Please follow me over to www.walkinmyeyeshadow.com to keep following my makeup journey

The lovely Dilek from FORA Nails is having an awesome giveaway on her blog which I think everyone should check out.

The prize includes nail polish and nail art bead which would look really awesome!

Here are the terms for the giveaway:


1.You need to be a follower.
2.Blog about this giveaway. (Extra)
3.Tweet about this giveaway. (Extra)
Leave a comment to this post 4.Just Including your name, e-mail and the links to the terms from the above address list.Leave to your blog.The deadline is December 20th, 2010, 11:59 pm.

Click the link here to go to her blog post and good luck!

Sunday, November 28, 2010

Nail of the Day: OPI "The Show Must Go On"

 EDIT: I am no longer making posts in this domain. Please follow me over to www.walkinmyeyeshadow.com to keep following my makeup journey

This is the nail polish that I am currently wearing on my nails. I bought this colour yesterday when i went out with my mother looking for Christmas presents. This colour is called OPI "The Show Must Go On" and its from the Burlesque Collection which recently came out.


I'd describe this colour as a deep coral-pink with gold duochrome. It looks like it has a foil finish on the nail and is really pretty.


The gold duochrome is a little more evident in the photo below


Most of the nail polishes I own are China Glaze and this is only the second OPI I have bought. OPI in Australia is normally $19.95 retail ($10.95 industry) as opposed to $12.95 retail ($6 industry) for China Glaze, but considering I LOVE duochrome nail polishes, I was willing to spend the extra money for this polish, which I am glad I did because I am very impressed with it.

Nail of the Day: China Glaze "Frostbite" and Starburst Blue Foil

 EDIT: I am no longer making posts in this domain. Please follow me over to www.walkinmyeyeshadow.com to keep following my makeup journey

This is another one of the foils that I purchased from Dollar Nail Art. This is a really pretty foil


This is how this particular foil turned out on my nails:


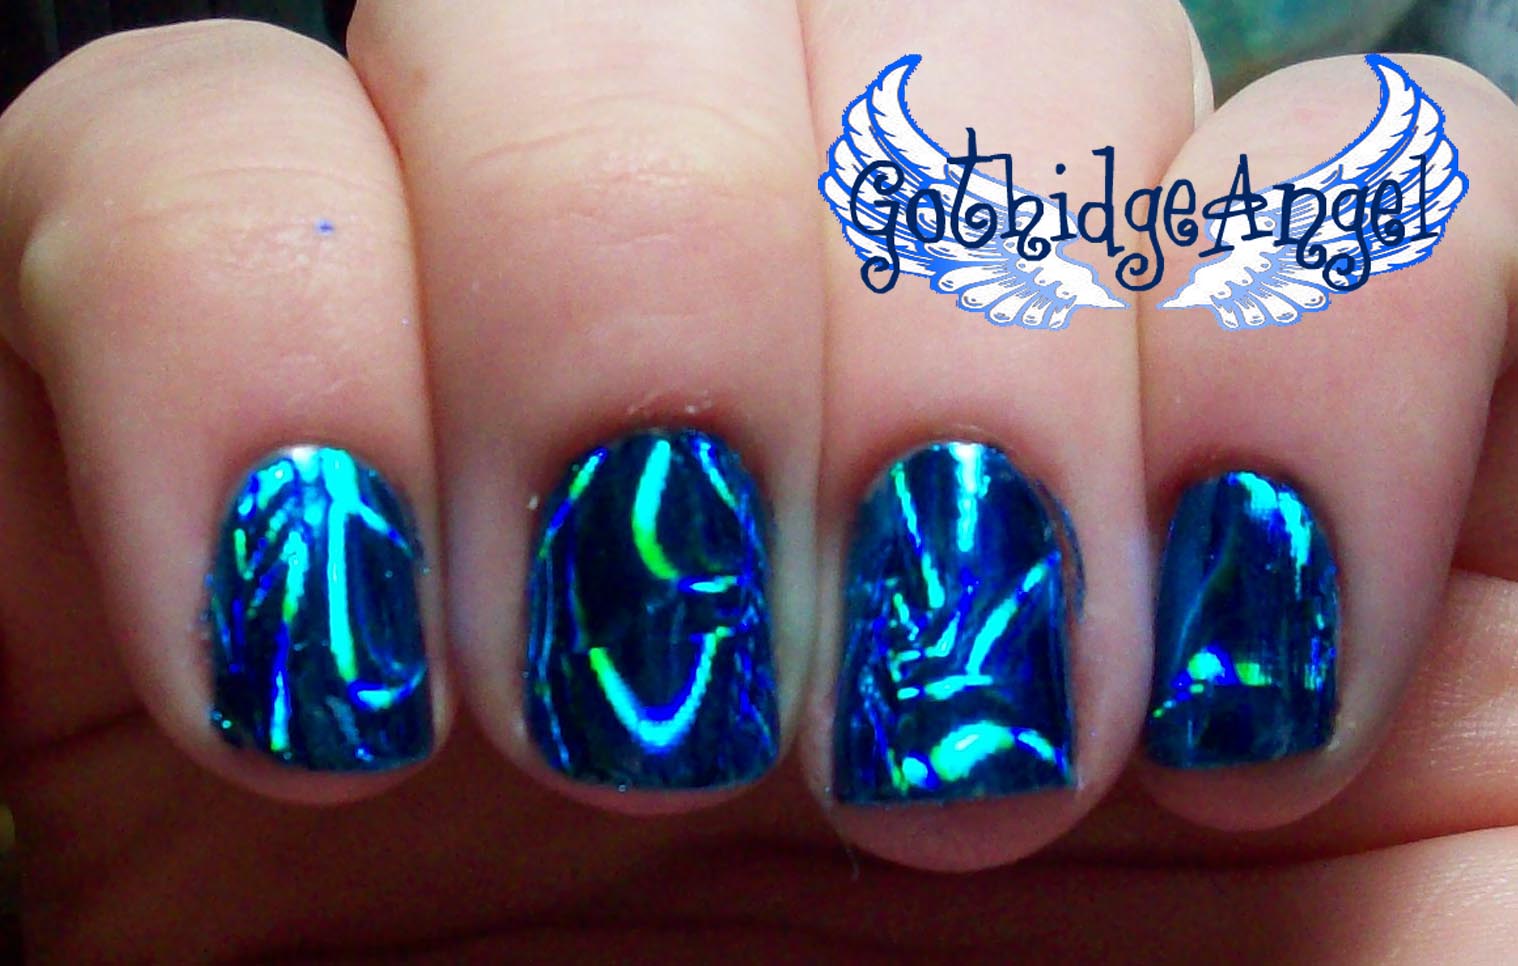
I would describe this foil as a royal blue foil with a starburst pattern covering the entire length of the foil. This pattern can also be seen in Gold Starburst foil. The starbursts then reflect teal, light and dark blue and green depending on which way the light hits it creating a holographic effect


As a base for this foil, I used China Glaze "Frostbite" which is a medium dark royal blue with blue shimmer.

Nail of the Day: China Glaze "On The Prowl" and Tanzanite Fire Foil

 EDIT: I am no longer making posts in this domain. Please follow me over to www.walkinmyeyeshadow.com to keep following my makeup journey

Here is another one of the trials of the foils I bought from Dollar Nail Art. This one is a bright purple holographic foil called Tanzanite Fire.


This is how the foil turned on my nails:


I'd describe Tanzanite Fire as a deep red based purple with a pattern on it resembling water in a pond. The ripple like effect on this foil reflects blue, purple, punk and red depending on where the light hits it creating a really pretty holographic reflect


As a base for this foil, I used China Glaze "On The Prowl" which looks like this:


Nail of the Day: China Glaze "Paper Chasing" and Green Lightbeams Foil

 EDIT: I am no longer making posts in this domain. Please follow me over to www.walkinmyeyeshadow.com to keep following my makeup journey

I have been gradually working my way through my nail foils that I bought from Dollar Nail Art trying them out one at a time. This one of the foils I tried out recently called Green Lightbeams.


This is what it turned out like:


Green Lightbeams is a an emerald green based foil with lines of holographic lightbeams along the width of the nail. The lightbeams reflect green, teal, blue and gold depending on how the light hits it. The following photo will show the foil in more detail:


As a base colour underneath the foil, I used China Glaze "Paper Chasing" which came out with the Kicks Collection ('09).


By applying "Paper Chasing" under the foil any gaps from where the foil didn't apply properly will be disguised.

Saturday, November 13, 2010

Nail Art Foil Collection: White, Black and Patterns

 EDIT: I am no longer making posts in this domain. Please follow me over to www.walkinmyeyeshadow.com to keep following my makeup journey

This is the final post for my nail foils collection. There has been a lot to go through so I am kind of thankful that I've gotten to the end. All of these foils were purchased by me from Dollar Nail Art. In this post I will be showing you product photos, close up images and brief descriptions of each of the nail foils based on what I think they look like.

If you do not know what nail art foil is or how to use it please follow this link here to my Introduction to Nail Foils post for more information.

Nail Art Foil Collection: Rainbow

 EDIT: I am no longer making posts in this domain. Please follow me over to www.walkinmyeyeshadow.com to keep following my makeup journey

Now we get to the interesting foils. These are the rainbow ones which I absolutely LOVE! Some of them have a silver base to them but I decided that they fit more into the rainbow category. These foils were all purchased by me from Dollar Nail Art. In this post I will be showing you product photos, close up images and a brief description of what these foils look like to me.

If you do not know what nail art foil is or how to use it please follow this link here to my Introduction to Nail Foils post for more information.

Nail Art Foil Collection: Silver

 EDIT: I am no longer making posts in this domain. Please follow me over to www.walkinmyeyeshadow.com to keep following my makeup journey

The next installment in my nail foil series is the silvers. These foils were all bought by me from Dollar Nail Art with my own money. In this post I will be providing product photos, close up photos and also a breif description of what they look like to me.

If you do not know what nail art foil is or how to use it please follow this link here to my Introduction to Nail Foils post for more information.

Nail Art Foil Collection: Greens

 EDIT: I am no longer making posts in this domain. Please follow me over to www.walkinmyeyeshadow.com to keep following my makeup journey

I was a little upset when I looked at the foils avaliable on Dollar Nail Art and there were not that many foils in green. I have found this with many nail polishes too that they don't produce a wide variety of green polishes within any company. Oh well.

In this post I will be showing you product photos, close ups of each foil and also giving you a short description on what I think they foils look like.

If you do not know what nail art foil is or how to use it please follow this link here to my Introduction to Nail Foils post for more information.

Friday, November 12, 2010

Nail Art Foil Collection: Blues and Teals

 EDIT: I am no longer making posts in this domain. Please follow me over to www.walkinmyeyeshadow.com to keep following my makeup journey 

The next installment of my nail art foil collection from Dollar Nail Art is the blue and teal foils. I bought these foils using my own money. This post will consist of product photos, close up images of each foil and a brief description.

If you do not know what nail art foil is or how to use it please follow this link here to my Introduction to Nail Foils post for more information.

Nail of the Day: China Glaze "DV8" and Peacock Dazzle Foil

 EDIT: I am no longer making posts in this domain. Please follow me over to www.walkinmyeyeshadow.com to keep following my makeup journey

This was my first time using nail art foils and I wanted to try out one of the first foils that caught my eye when I opened my package from Dollar Nail Art. I applied a base colour of China Glaze "DV8" over my entire nail then applied Peacock Dazzle nail foil over the top


 This was the end result:


You can see in the photo above the holographic nature of DV8. I felt that it was a really good match for the foil.


The last two images show you the ripple pattern in this foil. It kind of reminds me of ripples on water.

This is China Glaze "DV8", the colour I used as a base for these nails

Nail Art Foil Collection: Purples

 EDIT: I am no longer making posts in this domain. Please follow me over to www.walkinmyeyeshadow.com to keep following my makeup journey

Now on to my favorite list of nail foils, the purples! As most of you will know by now purple is one of my favorite colours so I was really excited to see what these foils would be like. I purchased these foils from Dollar Nail Art using my own money. In this post you will find product photos, close ups of the individual foils and also a brief description.

If you do not know what nail foils are or how to use them please follow this link to see my Introduction to Nail Foils post.

Nail Art Foil Collection: Pinks

EDIT: I am no longer making posts in this domain. Please follow me over to www.walkinmyeyeshadow.com to keep following my makeup journey 

The following is the next installment of the nail art foil collection series. This one will contain all of my pink foils which will include photos of the product, close up images of the foils and also a brief personal description of them. These foils were purchased by me from Dollar Nail Art.

If you do not know what nail art foil is or how to use it please follow this link here to my Introduction to Nail Foils post for more information.

Nail Art Foil Collection: Orange and Red Foils

EDIT: I am no longer making posts in this domain. Please follow me over to www.walkinmyeyeshadow.com to keep following my makeup journey 

The following is next installment of my nail art foil collection. This one will contain all of my orange (well technically there is only one orange one lol) and red foils. I purchased these foils from Dollar Nail Art a few weeks ago and have been working my way through trying them all out. This post will contain a brief description of the effect that these foils have on the nail when applied as well as product photos to make is easier for you to choose which ones you would like to purchase if you choose to do to.

If you do not know what nail art foil is or how to use it please follow this link here to my Introduction to Nail Foils post for more information.

Nail of the Day: China Glaze "Salsa" and Cherry O's Foil

EDIT: I am no longer making posts in this domain. Please follow me over to www.walkinmyeyeshadow.com to keep following my makeup journey 

So this was a nail design that I wore a few days ago when I felt like wearing a red nail. I don't normally wear red nail polish that often, not sure why but I think after seeing what it looked like on my nails I might start doing it more often.

I felt like I needed a confidence boost and decided to apply China Glaze "Salsa" to my nails. this is a pretty basic red creme colour with a nice shine to it. Here is the swatch photo.


I decided that I wanted to amp up my manicure a little more by applying a nice red foil over the top. I chose to use Cherry O's for this. I purchased this nail foil from Dollar Nail Art


And this was the end result on my nails (I know I needed to clean them up a bit but I was so chuffed with the way they turned out I took the photo straight away)

Introduction to Nail Foils

 EDIT: I am no longer making posts in this domain. Please follow me over to www.walkinmyeyeshadow.com to keep following my makeup journey

As most of you know, I am really into my nail art and that kind of thing. Recently I treated myself to a big haul from Dollar Nail Art and bought all of the nail foils that they had available. I figured considering that the Aussie dollar is pretty much equal with the American, it would be a good time to buy them.

Sunday, July 4, 2010

Nail Tutorial: Purple French with White Roses

 EDIT: I am no longer making posts in this domain. Please follow me over to www.walkinmyeyeshadow.com to keep following my makeup journey

This is a simple Konad design that I thought I would film recently. I have since taken off my gel nails and I'm allowing my nails to grow naturally so I won't be posting any more nail tutorials after this except the ones that I have pre-recorded.


To recreate this look, you will need:
- base coat - I used Nfu Oh Base Coat
- China Glaze "Temptation Carnation" nail polish
- China Glaze "Midnight Ride" nail polish
- Konad Special Polish in "White"
- Konad Top Coat
- Konad image plate "M19"
- Fauxnad GCOCL "F01"

Thursday, June 3, 2010

Nail of the Day - June 3rd, 2010

 EDIT: I am no longer making posts in this domain. Please follow me over to www.walkinmyeyeshadow.com to keep following my makeup journey

So, it is officially my 21st birthday in 35 minutes and these are the nails that I have decided to wear for the day. As most of you probably know by now, my favorite colours are teal, purple and orange (weird combo I know), so I decided to use a teal colour as the background of my manicure.


Being that I am turning 21 and I don't feel like I deserve it, and I am still a big kid at heart (I have actually been watching old Disney cartoons for the past three days), I wanted to add something to the nails that was a little immature and kind of girly. I had seen a blog post made by FAB UR NAILS a while ago that I really loved and the colour I used for the manicure inspired me.

This is the finished nail look: